The SQL Server Database Publishing Wizard is a free utility that greatly simplifies the process of publishing your DB to a remote server. It asks for a lot of information though, which can sometimes get confusing. I hope this serves as a general guide to help you get up & running with the tool. It goes without saying that the assorted info you see on the screenshots below is mine. You will have to alter all such data for your specific situation.
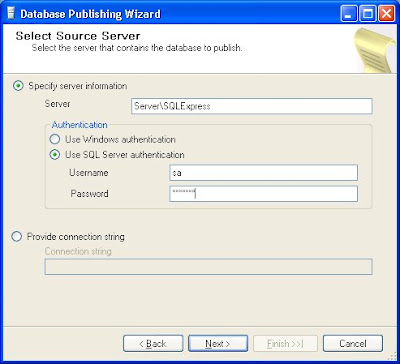
After an introductory screen, you will see this one. You need to enter the same credentials as you would with the SQL Server Management tool.
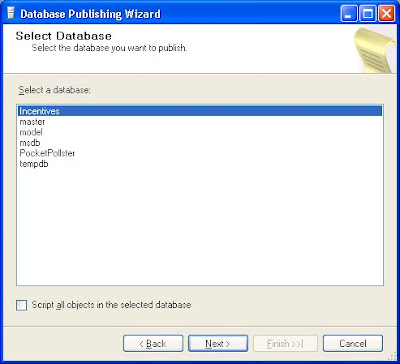
 You're then prompted to specify which DB you wish to upload (in full or a portion of). By selecting the checkbox at the bottom you will upload the entire DB in its entirety. Note: If you do so, make sure that the size of the DB won't exceed your hosting limits!
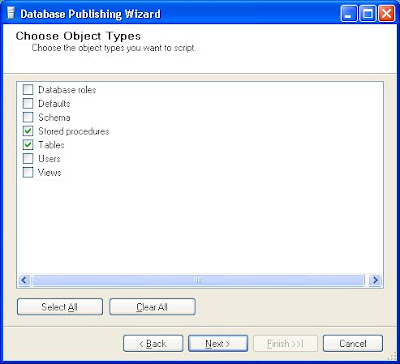
 If the aforementioned checkbox was not selected then you will be presented with this screen, which allows you to pick what types of objects you want to publish.
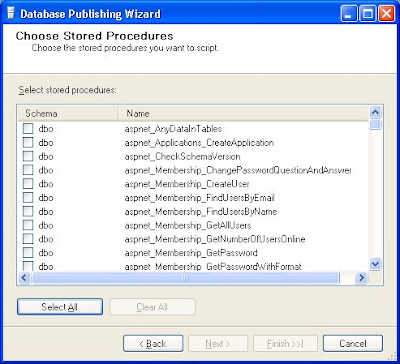
 Because of what I just selected, I was presented with the next two screens, letting me select the objects I wanted published. Note: For any Stored Procedure you select, it will automatically upload any Tables referred to within, plus their contents. Failure to notice this and you will start uploading huge tables which you never specified on the Tables screen!
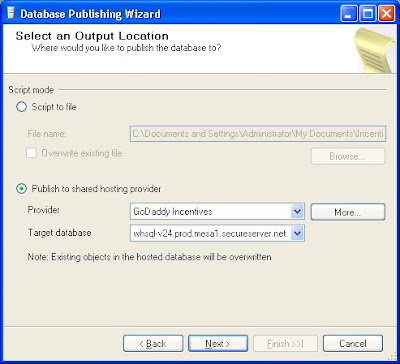
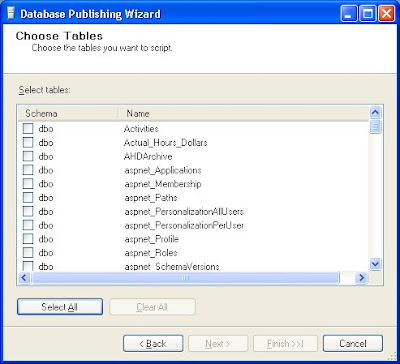 Once you've selected what you want published, then you need to inform the tool where to publish it, including all of the necessary credentials. Much has to be entered via the "More..." button. If you're using GoDaddy like I am then finding the precise syntax for the "Target database" was exceptionally tricky. But you can find the info here:
- Choose Databases -> SQL Server
- On the line specifying your DB, click on the Pencil icon on the right
- Click on Configuration
- You'll then see all the assorted DB connection info you need
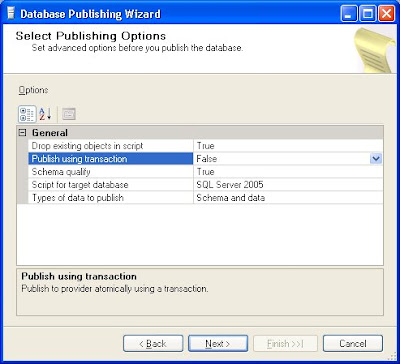
 There was a short delay before this next screen appeared. I assume that communication with the remote server was what caused the delay. You'll notice that "Publish using transaction" is set to False. I first tried it the other way but a strange error occurred, referring to a mysterious unknown user. I couldn't decipher it. Because Transaction mode was enabled, nothing got published. So I set it to False and though the error occurred again, at least it didn't retroactively remove all the objects it had just created in the DB.
 When you first hit 'Next' on the previous screen this next one immediately appears.
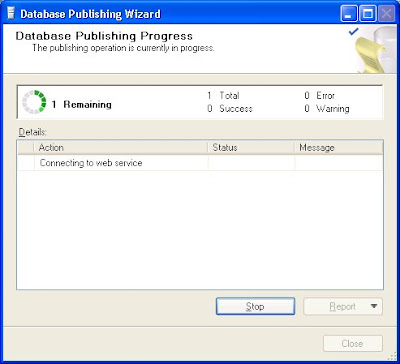 Eventually the contents within expand somewhat.
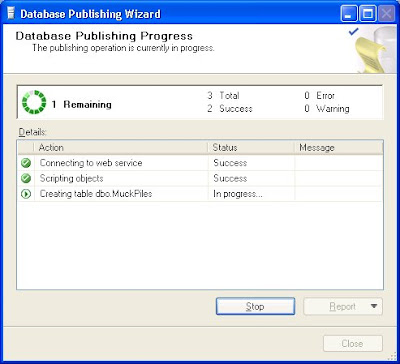 The time it takes is dependent on several factors, but the size of the DB you're publishing will play a large factor. In my case it took about 20 minutes. As long as it seems to be doing something, be patient!

No comments:
Post a Comment